top of page
PROBLEM: How can Knauf Insulation encourage homeowners to see how easy it is to install
their own Loft Insulation?
3D
Context
This project looks at how I can create an interactive 3D product experience that engages users more effectively than traditional static visuals, with the exploration of emerging technologies. The brief was to develop basic skills in
3D design, modelling and an understanding of how these
skills relate to implementation in technologies including
3D Printing, Augmented Reality (AR) and Virtual Reality, showing a proof of concept.
Working in the construction industry, my aim was to explore how 3D and immersive tools could be used to enhance future product storytelling for customers.

Process
I started the project, by looking into industry examples, focusing on 3D products being demonstrated, through the use
of 3D rendering, lighting, texture mapping and UI design.
Then moving onto what will this solution look like.
Solution: With the use of 3D technology, I can physically
show how to insulate their loft space. This would look like
a 3D printed model in the insulation space of DIY stores,
to create an educational display next to the packaged products. Alongside this offering information of installation, through interactive elements.
From there I:
-
Researched a loft space, 3D printing, AR and VR
-
Tested prototypes in 3D software, Tinkercad, Blender,Cinema 4D.
-
Explored texturing, lighting and cameras to create a clean 3D file (STL), for use in 3D printing.
-
Worked with the senior graphic designer to edit an existing
3D model, edit textures and adjust scale. -
Learned UltiMaker Cura Slicing software for slicing a 3D model and how to set this up for print.
-
Looked at various 3D printers and capabilities.
-
Exported the 3D model as a final STL file for 3D print.
Throughout this process, I used design thinking methodologies to test small prototypes and evaluate how users would interact with a 3D model.

Challenges
The main challenge I faced was in my skill level as I could only edit an existing 3D model, not create this from scratch, which meant I needed a lot of support from the senior graphic designer to get this to a 3D printed file. However, from this experience I developed knowledge and skills on texturing and lighting and set up for a 3D printable file.
Another problem I faced was the realism of the product, due to having to take out a lot of texturing for this to be created as an STL file. However, we were able to add bump mapping to create a texture that would look like insulation in real life without colour.
Another challenge was my skill level in AR and VR software,
as I was not able to develop this into an interactive prototype to be tested alongside the 3D printed product.
Solution
The solution was a 3D print ready file, which delivered an education piece for customers wanting to know how to insulate their loft space. It provided them with a physical object they can look at and play with in a real environment to understand the process of installation.

Outcome
Overall, this project delivered a future product storytelling for customers wanting to know how to install insulation in their loft space. With the use of emerging technologies, I was able to successfully provide a proof of concept for a 3D printed model.
Reflection
This project developed basic skills in 3D modelling, lighting, texturing and rendering. The challenge of my skill level showed a clear gap my skill set and this was reflected in the training with the senior graphic designer, in which we discussed exploring this further to be able to create 3D models from scratch.
I was also challenged in my skillset for AR and VR software, but with more time, this is an area I would like to revisit with time spent developing my skills in software such as
Adobe Aero to explore interactivity for both printed and digital use.
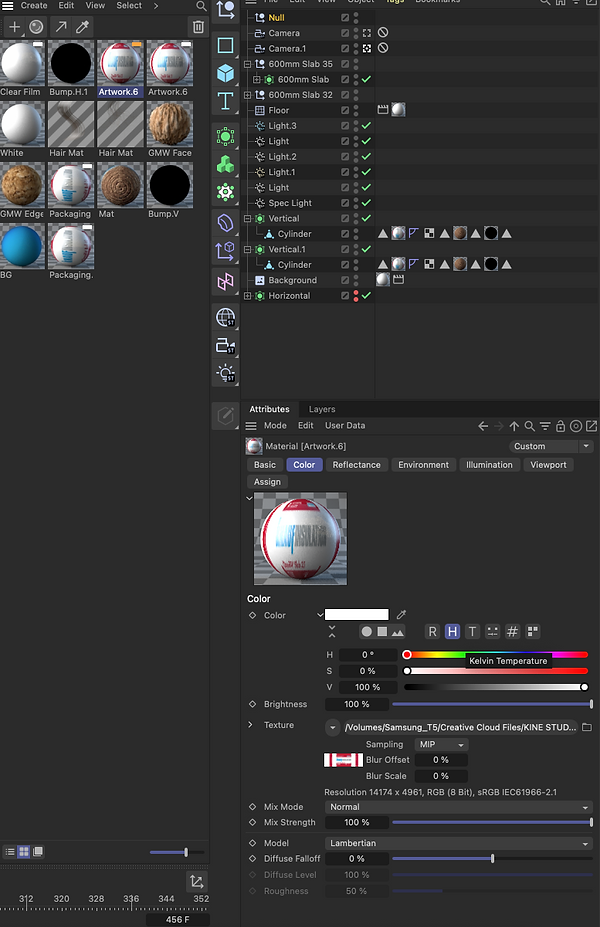
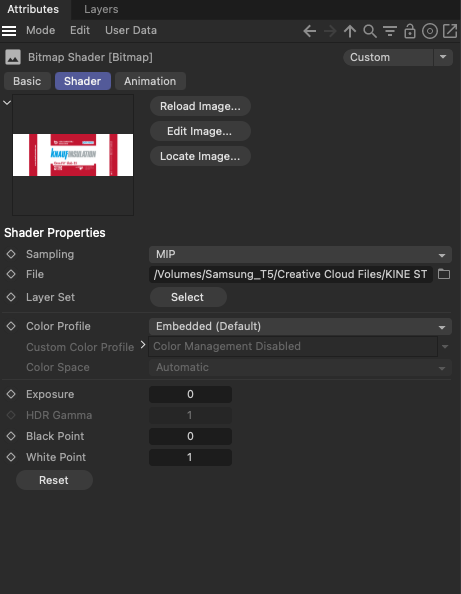
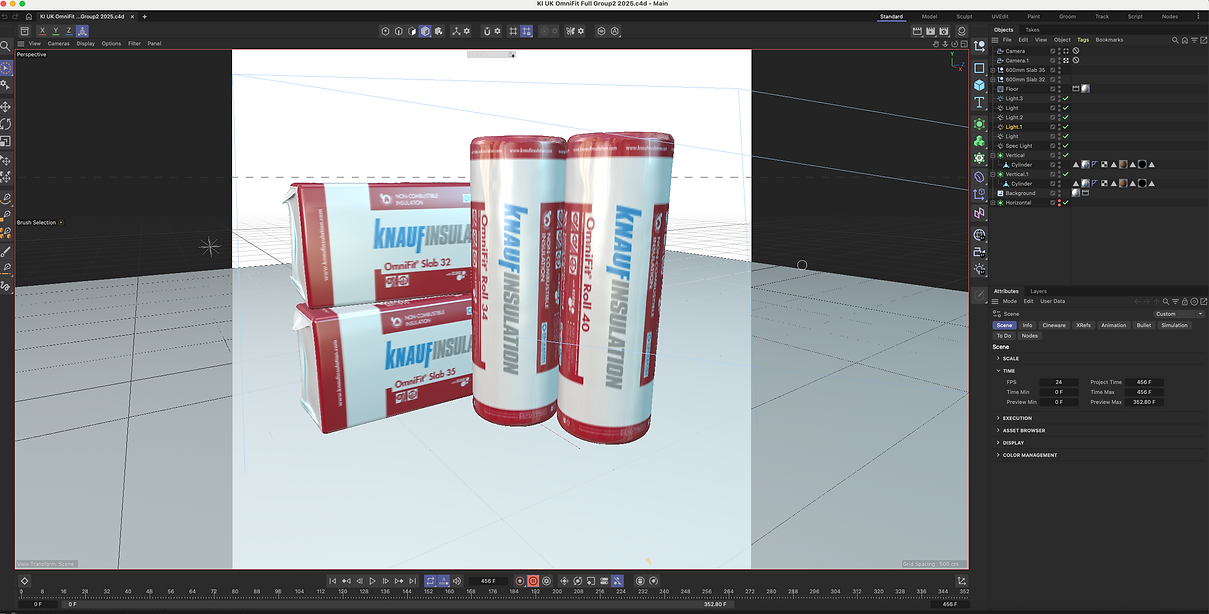
This is another example of my
skill development in 3D training currently working with the senior graphic designer, being able
to apply textures to existing
3D models. Using Cinema 4D materials to create packaging images for our website.
bottom of page